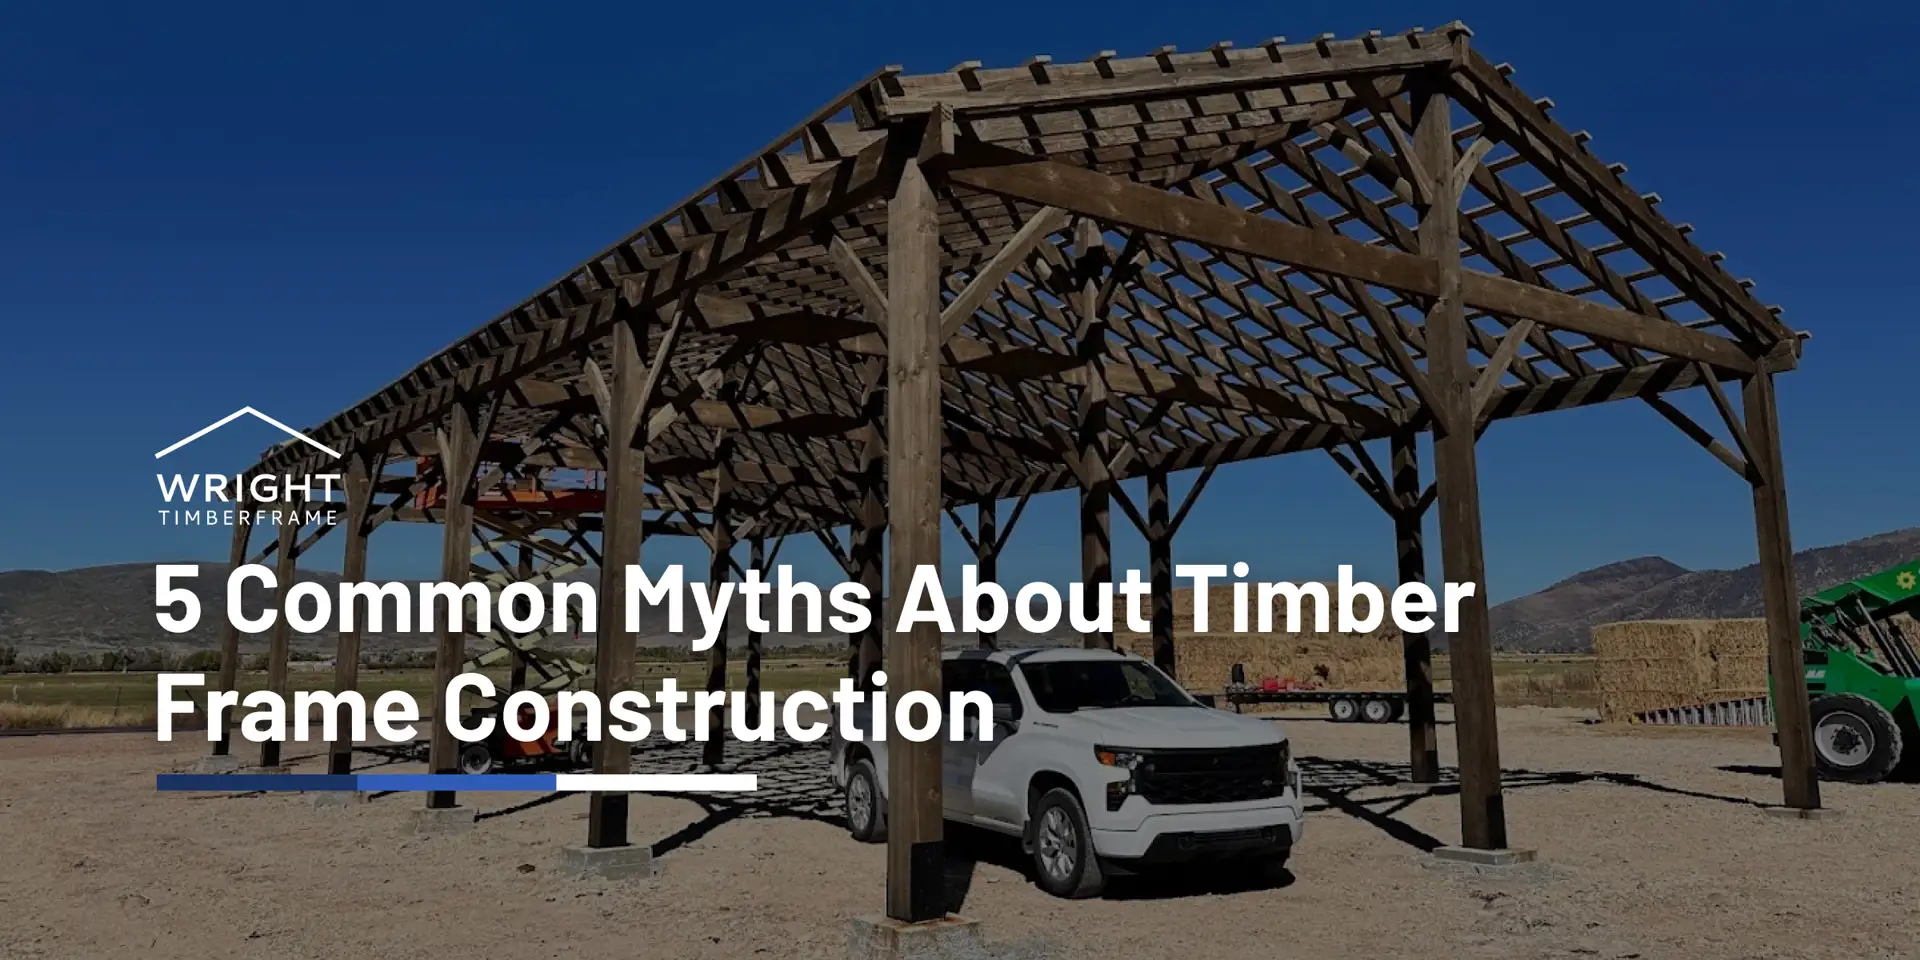
Why Finding the Right Wood Pergola Plans Matters

Wood pergola plans provide the blueprint to transform your outdoor space into a shaded retreat that can last for generations. Whether you’re planning a simple weekend project or a more ambitious timber frame structure, the right plan is the key to a rewarding build.
Quick Answer: What You Need to Know About Wood Pergola Plans
- Freestanding Plans: Range from 6×8 to 18×24 feet, typically cost $240-$3,000 in materials.
- Attached Plans: Connect to your home, often 10×12 to 14×16 feet, and require considering your existing structure.
- Skill Levels: Beginner plans use simple brackets, while advanced plans feature traditional mortise-and-tenon connections.
- Common Materials: Cedar and Douglas fir are top choices for durability and weather resistance.
- Average Build Time: Most DIY pergolas take 2-3 days to complete after footings cure.
Research shows that building your own pergola can save thousands compared to hiring a professional, with DIY material costs often falling under $3,000. At Wright Timberframe, we’ve helped countless homeowners find the wood pergola plans that work best for their needs—from simple designs to complex timber frame structures that become family heirlooms. Success starts with choosing plans that match your skill level and space.
, beams (horizontal members spanning between posts), rafters (cross pieces creating the roof structure), and optional knee braces (decorative angled supports). Includes typical dimensions for common sizes: 10x10, 12x16, and 14x20 feet. Shows three roof style options: flat/slatted, gabled, and louvered. Lists material costs by post size: 4x4 posts ($240-$452) and 6x6 posts ($412-$800) for average 10x12 pergola. - Wood pergola plans infographic")
Getting Started with Your DIY Pergola Project
Finding the right wood pergola plans is the first step toward creating your backyard oasis. A wooden pergola can transform your property, and building it yourself offers compelling benefits:
- DIY Satisfaction: Feel the pride of creating a beautiful, functional structure your family can enjoy for years.
- Cost Savings: A DIY pergola is significantly more affordable than hiring a pro. With lumber costs from $5-$25 per square foot, many projects cost under $3,000. For example, a simple 10×8 pergola with 4×4 posts might cost around $240 in lumber.
- Creating Shade: Pergolas provide welcome shade, making your outdoor areas more comfortable during sunny Utah summers and creating a cool, relaxing environment.
- Outdoor Living Space: A pergola defines an outdoor room, extending your living area for dining or lounging and adding value to your property.
- Pergola Anatomy: Understanding the basic parts is key. Every pergola has posts (vertical supports), beams (main horizontal supports), and rafters (smaller cross-pieces creating the roof). Optional knee braces add stability and style.
From Blueprint to Backyard Oasis: A Step-by-Step Guide
Building a pergola transforms from dream to reality when you break the process into manageable steps. Whether you’re working from scratch or assembling one of our pre-cut kits, we’ll walk you through each phase of the journey.
Choosing the Right Wood Pergola Plans & Premium Materials
Your pergola’s success starts with selecting wood pergola plans that match your vision, skills, and space.
First, decide between a freestanding or attached pergola. A freestanding structure offers placement freedom, creating a focal point anywhere in your yard. An attached pergola connects to your home, creating a seamless indoor-outdoor transition over a patio or deck, which can help moderate your home’s temperature.
Next, be honest about your skill level. Beginner-friendly plans often use metal brackets and simple connections. Our pre-cut kits are designed for easy assembly with interlocking joints. More experienced builders can tackle advanced plans featuring traditional mortise-and-tenon joinery for a strong, hardware-free look.
Before choosing a design, measure your space carefully. Consider traffic flow, landscaping, and furniture. Common DIY sizes range from 6×8 to 14×16 feet, while our premium timber frame pergolas can be much larger, like an 18×18 showstopper.
The roof style affects both appearance and shade. Classic slatted roofs create dappled sunlight, while louvered roofs offer adjustable coverage.
Finally, choose your wood. At Wright Timberframe, we use premium timbers for longevity and beauty. Cedar is naturally resistant to rot and insects, making it ideal for Utah’s weather. Douglas Fir is our go-to for strength and stability, showcasing gorgeous grain patterns. While pressure-treated pine costs less, we believe in building heirloom-quality structures with premium materials.
If you’d like to see more of what’s possible with quality timber, explore our Timber Pergolas. For more general building guidance, this detailed pergola project guide from Family Handyman is a thorough resource.
Essential Tools & Preparing Your Site
With your wood pergola plans and materials ready, it’s time to gather tools and prepare the ground.

You’ll need a power drill, impact driver, miter saw, and circular saw. A long level, post level, tape measure, and carpenter’s square are crucial for accuracy. For the foundation, have a post hole digger, shovel, and wheelbarrow for concrete. Always wear safety glasses and gloves.
For site layout, drive stakes at the corners and run string lines. Use the 3-4-5 triangle method to ensure your corners are perfectly square. Once the perimeter is set, mark the exact location for each post.
Before you dig, call 811. This free, essential service marks underground utility lines. Hitting a gas, water, or electrical line is dangerous and expensive. Make the call a few days before you plan to dig.
The Building Process: Key Steps for Your Wood Pergola Plans
Now you can watch your wood pergola plans take physical form. Take your time and check your work at each stage.
Start by digging post holes to a depth of at least one-third the post’s height. In Utah, check your local frost line depth to prevent shifting. Add a few inches of gravel for drainage before setting the posts.
To set the posts, place each one in its hole and use a level to ensure it’s perfectly plumb. Use temporary braces to hold them steady and a masonry line to check alignment. Once you’re satisfied, fill the holes with concrete and let it cure for at least 2-3 days.
Attaching beams is where the structure takes shape. At Wright Timberframe, we use traditional mortise-and-tenon joinery, where a tenon on the beam fits into a mortise in the post. This creates incredibly strong, interlocking joints without visible metal. Simpler plans may use heavy-duty bolts or brackets.
Installing rafters creates the overhead canopy. They run perpendicular to the beams, spaced 16 to 24 inches apart. In timber framing, rafters join beams with smaller mortise-and-tenon connections or timber screws. Consider adding knee braces (angled supports between posts and beams) for extra stability and a classic look.

The beauty of timber frame joinery is both aesthetic and structural. These connections have held buildings together for centuries. Learn more about the strength of Timber Frame Joinery and why we’re passionate about these methods. Our pre-cut kits make this process surprisingly straightforward, with every piece pre-cut and pre-tested to fit perfectly.
Customizing and Finishing Your Pergola
With the structure complete, it’s time for the details that make the pergola yours.
Staining and sealing protects your investment from Utah’s sun and snow. Choose a high-quality product with UV and water protection, paying extra attention to the end grain. This maintenance, repeated every 3-5 years, will keep your pergola looking beautiful for decades.
Adding lights extends your pergola’s use into the evening. String lights create a magical ambiance, while solar options eliminate wiring. Our timber frame pergolas can be pre-drilled for power to seamlessly integrate lighting or ceiling fans.
Decorative touches add personality. Consider decorative cuts on beam ends, planters for climbing vines like wisteria, or a trellis on one side for privacy.

Frequently Asked Questions
How much does a DIY pergola cost?
Material costs for a DIY pergola typically fall under $3,000, which is significantly less than professional installation. Lumber costs range from $5-$25 per square foot, with the exact cost depending on your pergola’s size, wood type, and design complexity.
What is the best wood for a pergola?
For durability and beauty, we recommend Cedar or Douglas Fir. Cedar is naturally resistant to rot and insects, while Douglas Fir offers exceptional strength and stability. Both are premium choices that create lasting structures that age gracefully.
Do I need a building permit?
It depends on your location and pergola size. Some municipalities don’t require permits for accessory structures below certain dimensions, while others do. Always check with your local Building Department before starting construction to avoid costly surprises.
How long does it take to build a pergola?
Most DIY pergolas take about a week from start to finish. After the concrete footings cure for about three days, two people with moderate skills can typically complete the structure in 2-3 days.
Conclusion: Bringing Your Wood Pergola Plans to Life

Following well-chosen wood pergola plans is about more than just building a structure; it’s about creating a space for lasting memories. The satisfaction of building something beautiful with your own hands that will stand for generations is a reward in itself.
At Wright Timberframe, we are local Utah timber experts dedicated to helping you create an exceptional outdoor living space. Our handcrafted pergolas use traditional mortise-and-tenon joinery, ensuring our structures are heirloom quality—built to last and gain character with age.
For those who love a hands-on project but want the precision of timber framing, our pre-cut kits offer the perfect solution. Every piece arrives ready for assembly, taking the guesswork out of the process. We ship these kits nationwide, bringing Wright Timberframe expertise to your backyard.
Ready to start your project? Explore our DIY Pergola Kits and let us help you create an outdoor space where life’s best moments unfold.