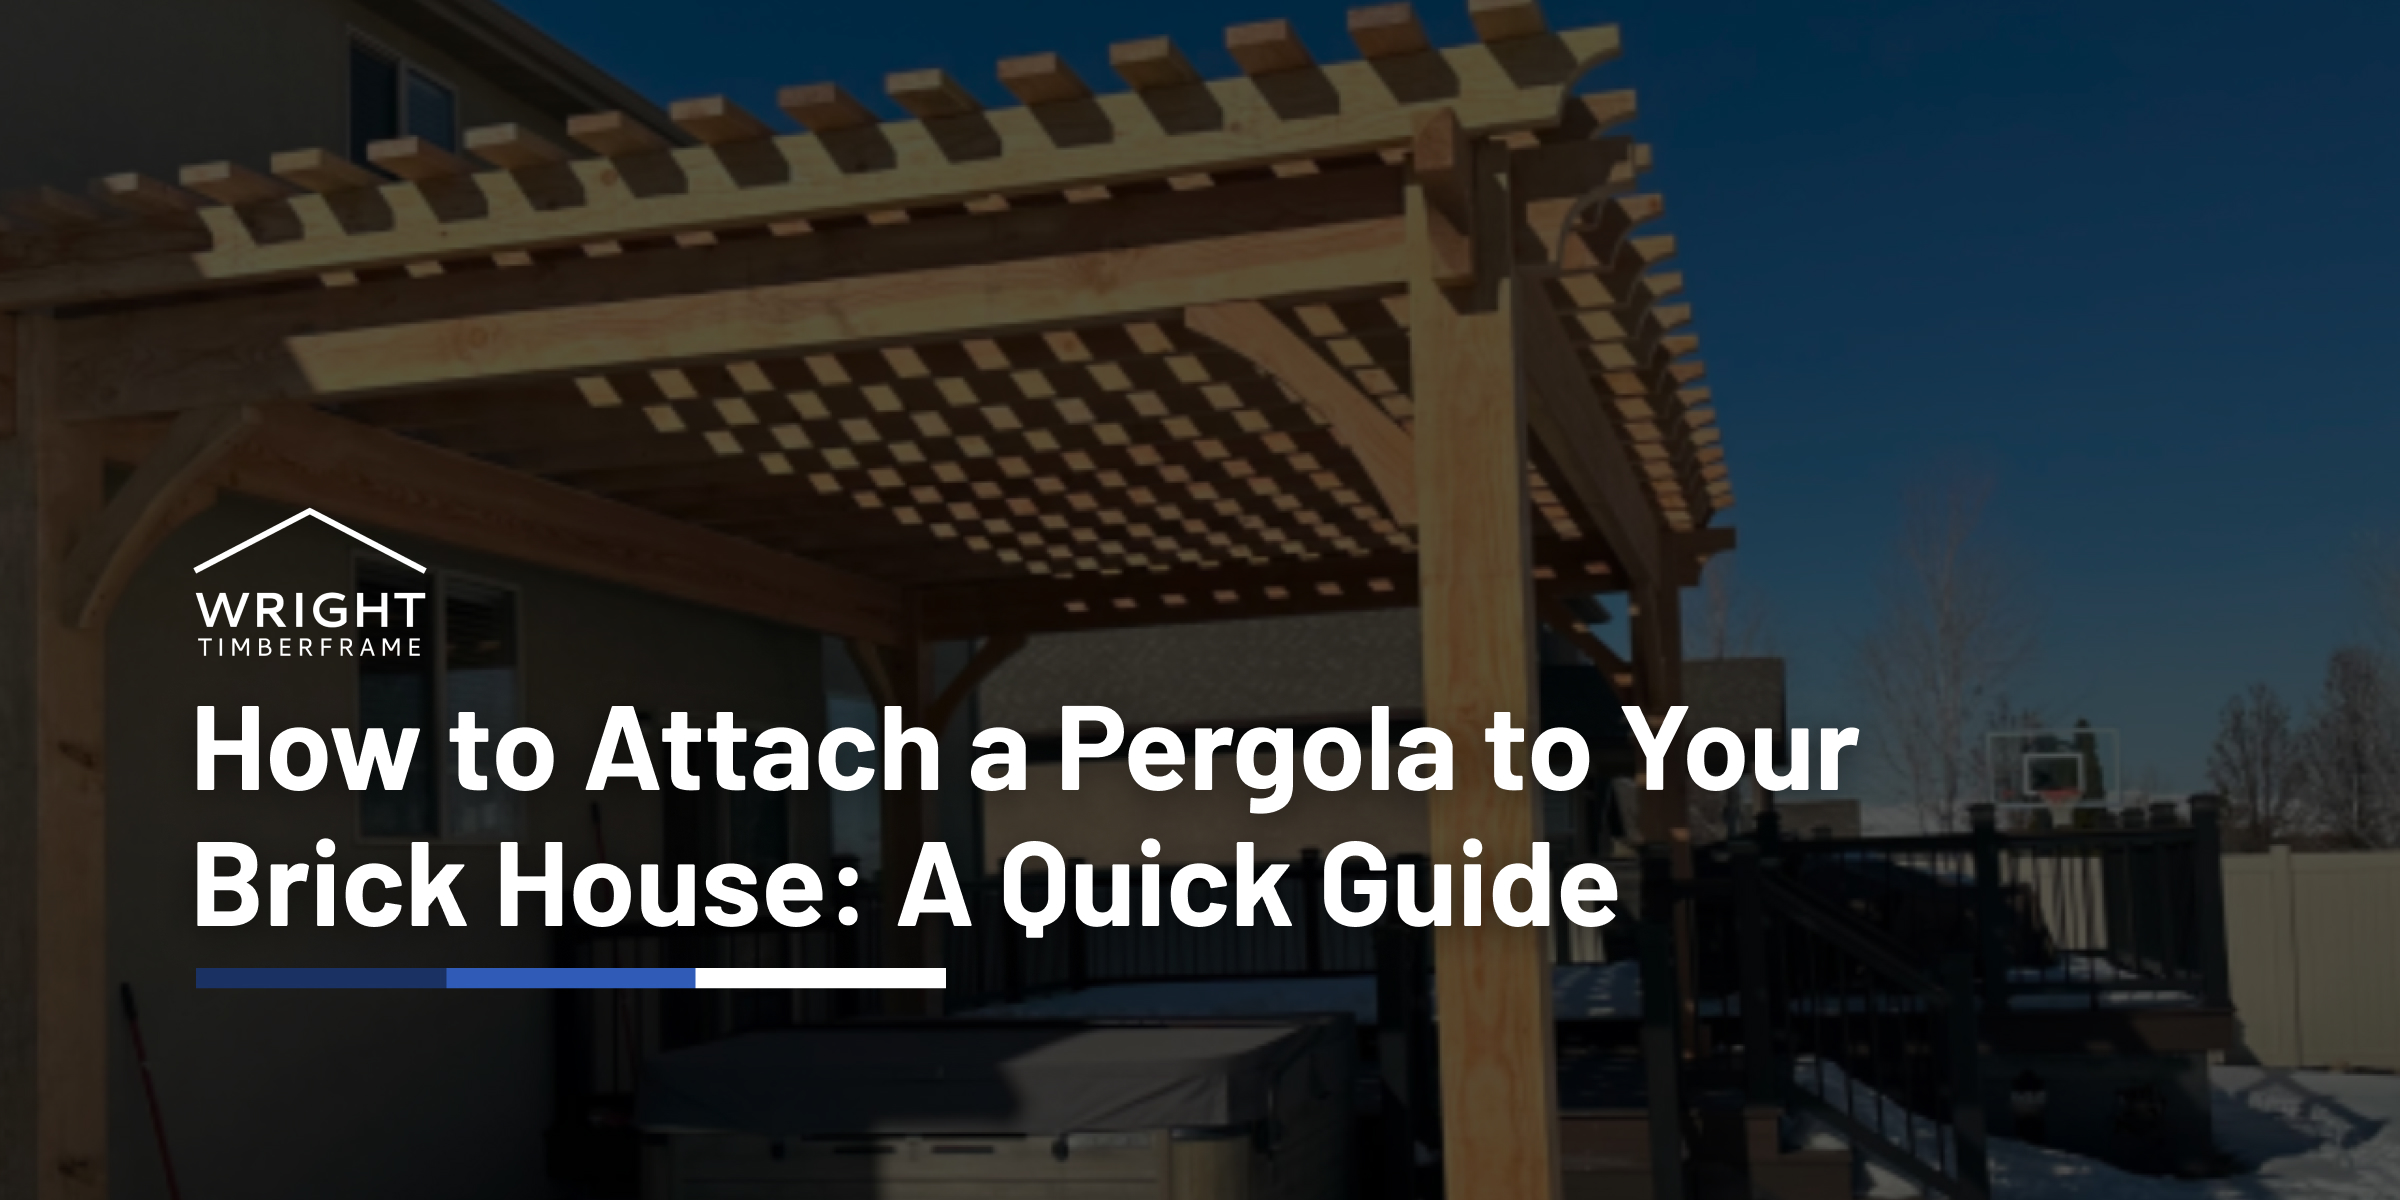
Why Learning How to Attach a Pergola to a Brick House Matters
Learning how to attach a pergola to a brick house is the key to expanding your living space outdoors, but it must be done correctly to ensure safety and prevent damage. A properly attached pergola creates a seamless transition from your interior to your exterior, effectively adding a new room to your home.
However, a poorly attached structure can cause serious issues, from persistent water leaks to catastrophic structural failure. The connection between the timber frame and your home’s masonry must be flawless.
At Wright Timberframe, we specialize in handcrafted timber frame structures that blend seamlessly with your home. With our expertise in traditional joinery and premium timbers, we help homeowners create strong, secure, and beautiful outdoor retreats that last a lifetime.
Key Takeaways
- Identify Your Wall Type: The most critical first step is determining if you have a solid brick or brick veneer wall. This dictates the entire attachment strategy.
- Anchor to the Structure: Brick veneer is not structural. You must anchor the pergola’s ledger board through the veneer and into your home’s structural framing, such as the rim joist or wall studs.
- Waterproofing is Non-Negotiable: Improper flashing and sealing will lead to water intrusion, rot, and costly damage to your home’s wall cavity and interior.
- Use the Right Hardware: Select corrosion-resistant, heavy-duty anchors and fasteners designed for masonry to handle the pergola’s weight and environmental forces.
- Consult Professionals When in Doubt: For older homes or any uncertainty about your wall’s integrity, consulting a structural engineer or professional builder is the safest path.
The Essential Guide on How to Attach a Pergola to a Brick House
Attaching a pergola to brick demands precision and an understanding of structural principles. A mistake can compromise both your new pergola and your home. We’ll walk you through the critical steps for a secure and beautiful installation.
")
First, How Do You Assess Your Brick Wall?
The first step is to identify your wall type: solid brick or brick veneer. A solid brick wall is structural and can bear significant loads, while brick veneer is a decorative facade that cannot. Most modern homes use brick veneer.
You can often identify the type by looking for small gaps or “weep holes” at the bottom of the wall, which are characteristic of veneer construction. You can also check window and door openings or measure the wall’s thickness. A solid wall is typically 8 inches thick or more, while a veneer wall is only about 3 to 4 inches thick.
Before proceeding, also inspect the brick and mortar for cracks or crumbling, as a deteriorated wall cannot provide a secure anchor.
| Feature | Solid Brick Wall | Brick Veneer Wall |
|---|---|---|
| Construction | Load-bearing, multiple layers of brick | Non-load-bearing, single decorative layer |
| Thickness | 8+ inches | 3-4 inches |
| Attachment | Anchor directly into solid brick | Must anchor through veneer into structural framing |
What is the Best Attachment Method?
For most pergolas, especially heavy timber frame structures, a ledger board is the best method. This horizontal beam is bolted to the house wall, and the pergola rafters attach to it. This method is superior because it distributes the pergola’s weight evenly across the home’s structural framing, such as the rim joist or multiple wall studs.
Directly anchoring individual posts to the wall is an alternative for lighter structures but concentrates the load at fewer points, increasing stress on the brick. For the substantial pergolas we build, a properly installed ledger board provides the most reliable and evenly distributed connection, handling weight and weather forces effectively.
How to Select the Right Anchors and Hardware
Your choice of anchor depends on your wall type. For solid brick, mechanical anchors like sleeve or wedge anchors expand to create a tight fit and work well in dense material. For brick veneer, you must use long anchors that pass through the brick and into the wood framing behind it.
In this case, chemical anchors (epoxy) are an excellent choice. They create a powerful bond by adhering a threaded rod into the hole, which is ideal for securing into the framing without putting expansion stress on the brick veneer. Always use corrosion-resistant hardware.
Hot-dipped galvanized or stainless steel fasteners are essential for outdoor structures to prevent rust and failure. For more details on hardware selection, you can consult resources like the Simpson Strong-Tie blog post, Prescriptions for a Perfect Pergola.
What is the Installation Process?
A successful installation requires careful execution. Here is a detailed overview of the key steps.

- Mark and Level: Carefully mark a perfectly level line for your ledger board. If you have brick veneer, use a stud finder to locate and mark the structural framing (studs or rim joist) behind it. A laser level can be very helpful for this step.
- Drill and Clean: Use a hammer drill with a masonry bit to drill holes through the brick. Never drill into the mortar joints. For chemical anchors, it is vital to clean the holes thoroughly with a wire brush and compressed air to remove all dust and debris for a proper bond.
- Install the Ledger: Secure the ledger board with your chosen anchors. When attaching through brick veneer, use spacers or a stack of washers to create a small air gap between the back of the ledger and the face of the brick. This prevents trapped moisture and allows the wall to drain properly.
- Flash and Seal: This step is critical for preventing water damage. Install metal L-flashing above the ledger, tucking the top edge into a mortar joint or behind the home’s weather-resistant barrier. This directs water over and away from the ledger. Seal around all fasteners and the top edge of the flashing with a high-quality exterior polyurethane sealant.
- Attach Rafters: Use appropriately sized metal joist hangers to securely connect the pergola rafters to the ledger board, using the manufacturer-specified structural screws or nails.

Should You Attach a Pergola to a Brick House Yourself?
Whether this is a DIY project or one best left to professionals depends on your experience, tools, and the construction of your home.
DIY may be appropriate if:
- You have confirmed access to structural framing behind the brick
- You are experienced with masonry drilling and structural fastening
- The pergola is lightweight and small in scale
- You understand flashing and water-management principles
You should hire a professional if:
- Your home has brick veneer and framing is difficult to locate
- The pergola is heavy timber or large-span
- You live in an area with high snow or wind loads
- You are unsure how to properly flash and waterproof the ledger
Improper attachment can lead to brick failure, water intrusion, and structural damage—issues that often cost more to repair than professional installation.
Quick Checklist: How to Attach a Pergola to a Brick House Correctly
Before proceeding, confirm the following:
- Wall type (solid brick vs brick veneer) identified
- Structural framing located and verified
- Proper masonry or chemical anchors selected
- Ledger board spaced off brick for drainage
- Metal flashing installed above the ledger
- All penetrations sealed with exterior-grade sealant
If any item on this checklist is uncertain, professional guidance is strongly recommended.
Attaching a pergola to a brick house is not just a cosmetic upgrade, it’s a structural project that permanently alters your home. Once brick is drilled and anchors are set, mistakes are difficult and expensive to reverse. When done correctly, however, a properly attached pergola becomes a seamless extension of your home, enhancing outdoor living while protecting the integrity of your masonry and wall system for decades.

Frequently Asked Questions on How to Attach a Pergola to a Brick House
Do I need a permit to attach a pergola to my house in Utah?
Permit requirements vary by city and county in Utah and often depend on the pergola’s size, height, and if it has a solid roof. Because an attached pergola adds a load to your home’s structure, it is more likely to require a permit than a freestanding one. It’s always best to check with your local building department before starting construction. For more general information, you can review our guide on permits for pergolas.
What is the biggest risk when attaching a pergola to brick veneer?
The single biggest risk is attaching the ledger board only to the brick veneer itself. Veneer is a thin facade and cannot support the weight of a pergola, which can lead to catastrophic failure of the wall and the pergola. The second major risk is improper waterproofing. Failing to flash and seal the ledger board correctly can cause hidden water damage and rot inside your home’s wall structure, leading to expensive repairs.
How far apart should anchors be on the ledger board?
The spacing of your anchors is critical and depends on the type of wall you have. If you are attaching to a brick veneer wall, your anchors must align with the structural framing of your house, which is typically 16 or 24 inches on center. For a solid brick wall, a general guideline is to space heavy-duty anchors every 16 to 24 inches.
However, this can vary based on the pergola’s weight and the brick’s condition. We always recommend consulting the anchor manufacturer’s specifications and your local building codes for precise requirements.
Can I use a DIY Pergola Kit for a brick house attachment?
Absolutely. Our DIY Pergola Kits are designed for versatility. While the standard kit is for a freestanding structure, it can be adapted for wall attachment. The key is to source the appropriate ledger board and masonry anchoring hardware separately, as the connection to a brick wall requires specialized components not included for a freestanding build. You must follow the principles of proper anchoring and waterproofing discussed in this guide.
How to Attach a Pergola to a Brick House for Lasting Beauty
Attaching a pergola to your brick home creates a beautiful and functional transition between your indoor and outdoor living spaces. It’s a project that permanently enhances your home’s value and your enjoyment of it. By carefully assessing your wall, using the right hardware, and prioritizing meticulous waterproofing, you can ensure your new structure is safe, secure, and beautiful for decades to come.
This project requires precision and attention to detail, but the reward is a stunning and lasting addition to your home. If you want to ensure the job is done with superior craftsmanship and the highest quality materials, the experts at Wright Timberframe are here to help.Contact us today to discuss your project and bring your vision to life.
